Changing realtor realties
There’s going to be a flood of activity once the shelter in place is lifted. I agree that there is going to be a surge.

Vija Williams
Director of Growth for the Ben Kinney CompaniesWe’re going to come out of this with a much greater use of teleconferencing.

Joe Rand
CEO of BHGRE Rand RealtyGetting Started Taking Beautiful 360 Real Estate Pictures
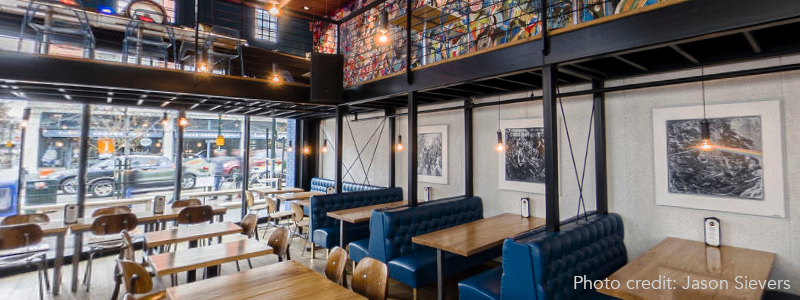
Composition is significantly different with 360 photography. You're creating an interactive experience for your audience. Views include the ceiling the floor. Shoot from perspective that makes it feel that you're in the room.
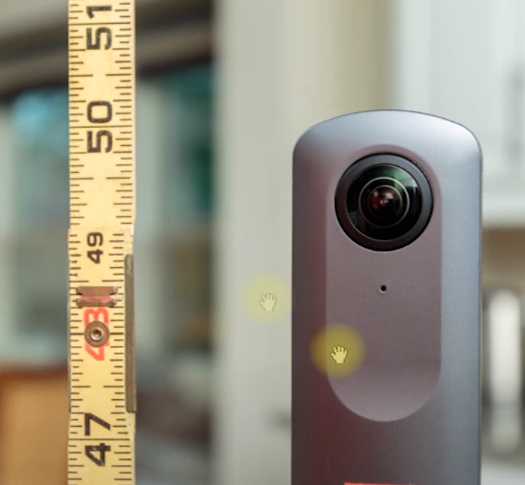
Use a monopod with feet that is set to a height of about 50". This puts the center point of the image just below eye level with default settings.
Do not put the camera directly on a counter or tabletop as it will block too much of the surrounding area and floor. Position the camera slightly above the targeted view.
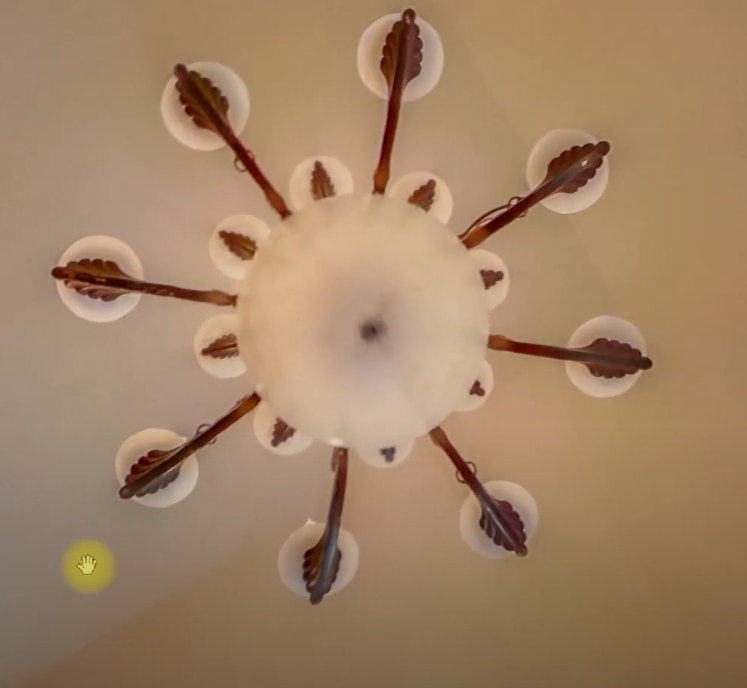
Make sure the camera is at least 2 feet away from large furniture, but close to the center of the room. If the room features an interesting ceiling or skylight, put it slightly off from direct center. Chandeliers and fans look great when the view is slightly off.
Outside Shots
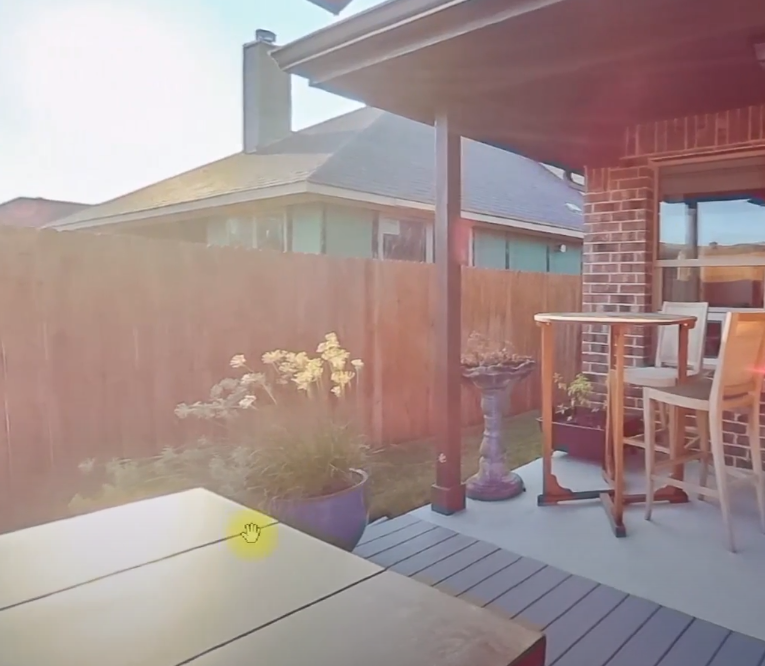
Minimize sun flare by placing the camera outside of direct sun. Put the thin side of the camera toward the brightest spot of the scene. Do not point the lens toward the bright area as it will cause the light to be uneven in the final image. Use the mobile app liveview to find the best camera height and lighting placement.
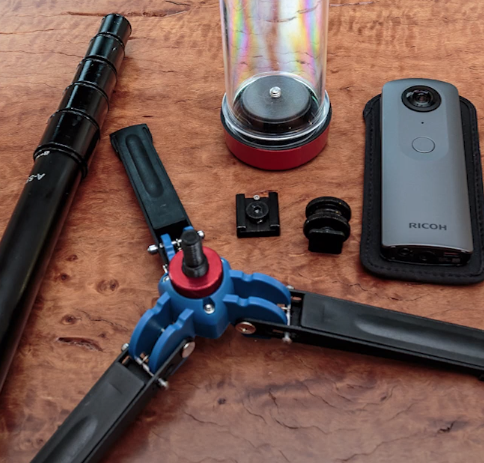
Fully extend the tripod for exterior shots. Use a sturdy tripod with a wide base. It's common for monopods with feet to tip over on uneven surfaces or in the wind. If you use a monopod with feet, make sure it is on stable ground. The lens of most 360 cameras are exposed. Be careful with your investment.
Getting Yourself Out of the Shot
The camera may lose Wi-Fi connection to your mobile phone if you wander too far away. To allow you to stay close to the camera, most cameras will have something similar to a timeshift mode. This allows you take a picture with one lens and then move to the other side of the camera to take a picture with the other lens. The camera will then merge the pictures together into a single picture.
If your camera does not have this feature, you can use Photoshop to edit yourself out with the same technique manually using Photoshop layers.
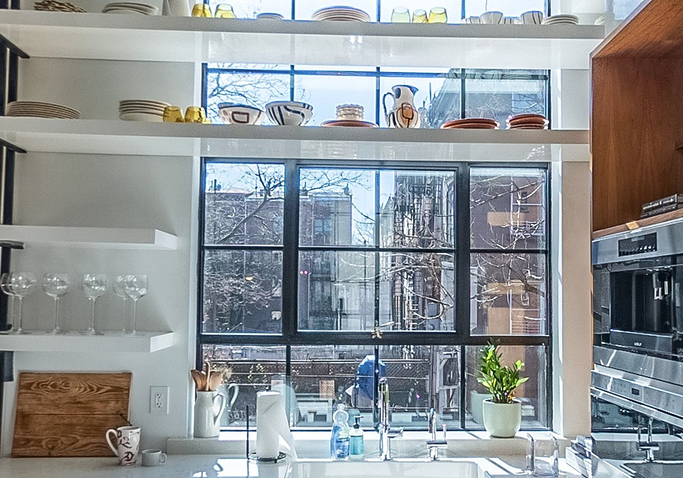
Taking Great Room Shots When There's Light from a Window
If there is a window or bright spot in your shot, there are four options to get a shot that shows off your property and doesn't contain a bunch of image noise in the dark areas, such as the corner closet.
Some virtual tour software platforms apply image correction technology automatically. The techniques below are for manually taking a shot. The techniques are listed in order of difficulty.
- Single JPG image with post-shoot editing with Photoshop or Lightroom
- HDR image automatically created inside a camera or automatically generated with a mobile app
- Single DNG or RAW image with more light information available for editing compared to a JPG image
- Stacked DNG (RAW) image merged together into a HDR DNG file.
Examples from a Single Scene
These screenshots are all from a single 360 image taken by Sam Rohn. The single picture was produced using the "stacked DNG" technique. It is divided into sections for this article to illustrate the technique of retaining shadow when there is a window in the scene bringing light into the area.
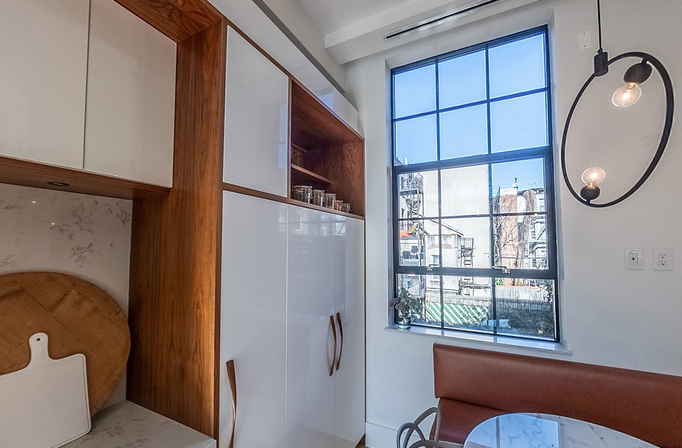

Closeup Showing How To Get Light and Shadow Into The Same Shot
This night shot of a street further illustrates how the technique of using light and dark in the same image can be used to capture both images in the dark and reduce or eliminate image noise.
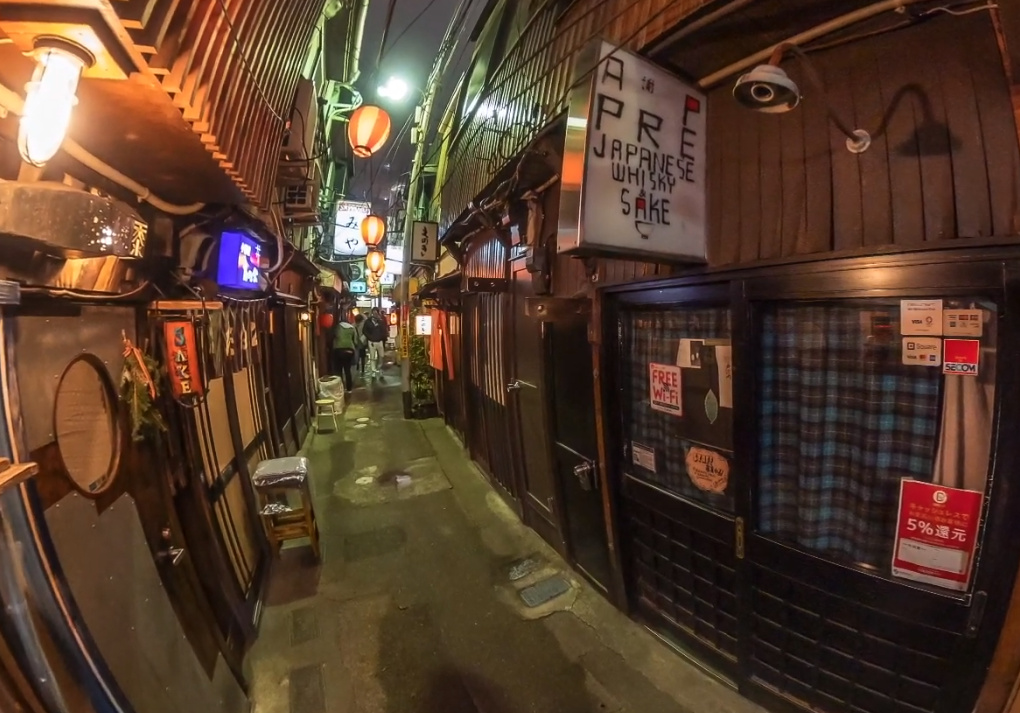
Photo Credit: Sam Rohn
This is an equirectangular "full-scene" view of the shot above. Your customer does not see this view. It is only for editing the light and dark. The picture below shows the effects of before and after editing.
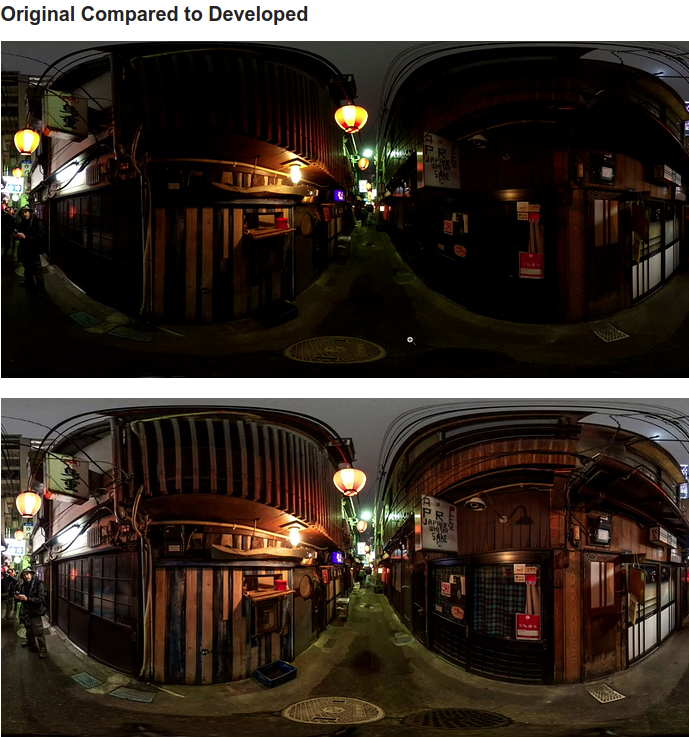
Photo Credit: Sam Rohn
The following shot was taken using a stacked DNG.
Edit Shots On-the-Go with an iPad or Mobile Phone
For beautiful real estate shots, many people quickly edit 360 pictures in Adobe Lightroom or Photoshop to make house look alive with color. Instead of editing the pictures at your office on a big laptop or desktop computer, you can edit the 360 pictures on your iPad or mobile phone.
Russell Preston Brown, Senior Creative Director at Adobe Systems, explains how to use an iPad to improve 360 pictures.
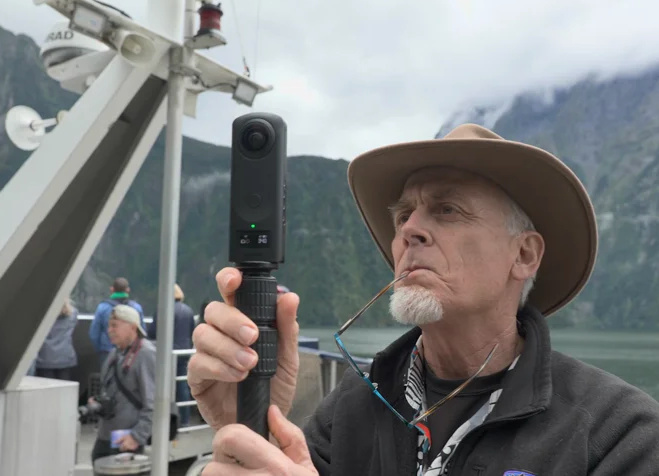
Mount Camera on Monopod
Connect Camera to iPad with USB-C
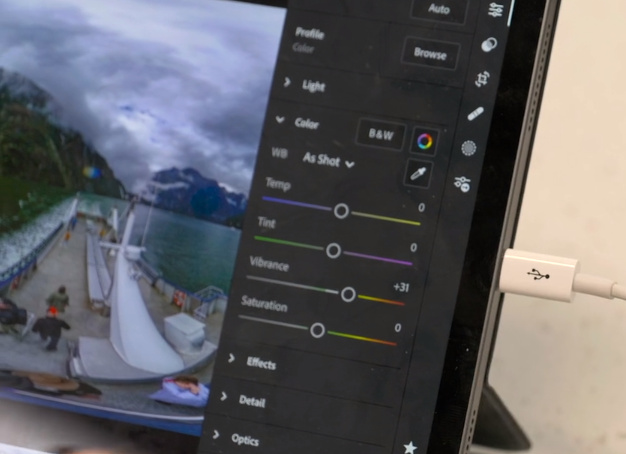
Edit Shot in Lightroom Mobile

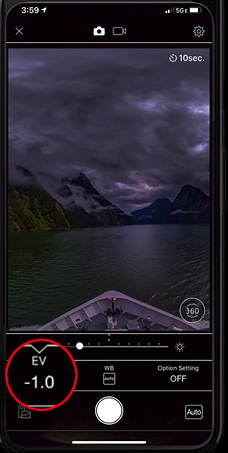
Underexpose to Preserve Details
In this example, the photographer is setting EV to -1.0 to hold the details of the clouds. This will intentionally underexpose the image.
Adjusting for Light and Color
The photographer is using a DNG or RAW image in dual-fisheye mode to get maximum control of the light and color. You can use a normal JPEG image or a stacked HDR image to get similar control without the overhead of stitching the DNG image.
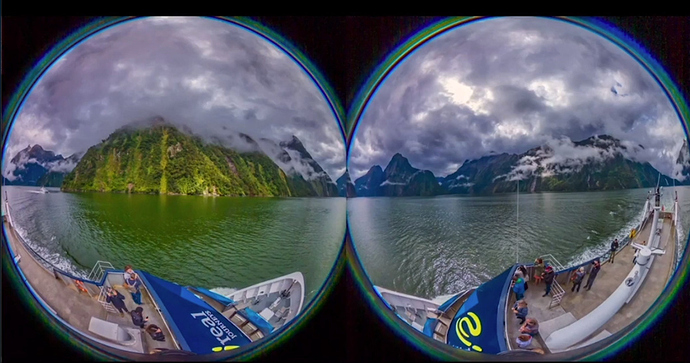
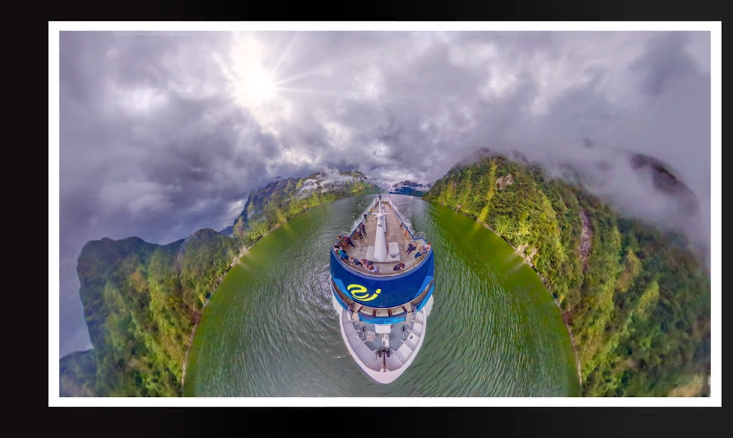
Final Image
You can create an artistic rendering of the image for promotion. Or, you can use the images as part of a virtual tour.
Quickly Take Shots Without Hiding Yourself
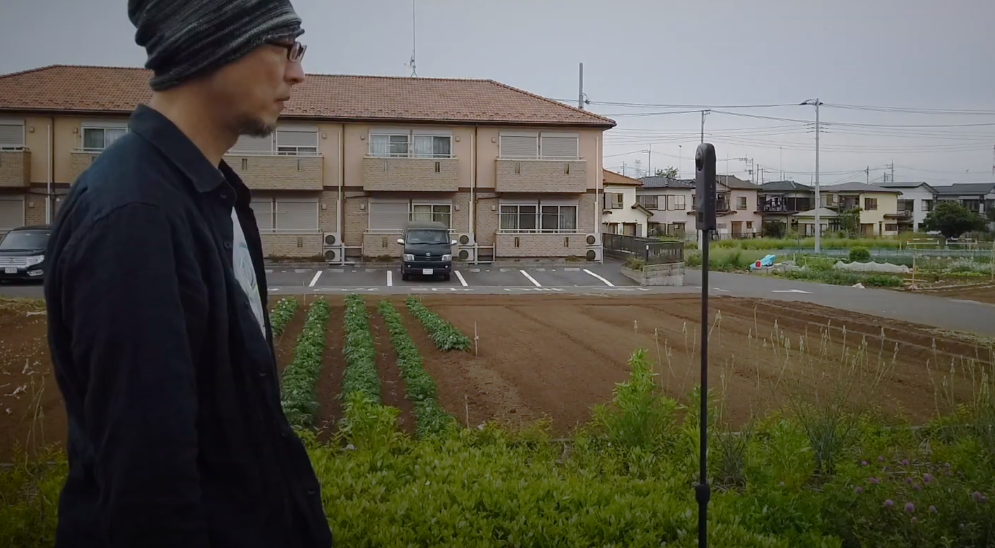
Most 360 cameras have two lenses. Some allow you to take shots one lens at a time. By commbining two pictures into a single picture, you can rapidly take pictures without you being in the picture. First take one picture, then walk to the other side of the camera.
The following workflow is courtesy of Digital Wackys Channel
Shot 1
Shot 2
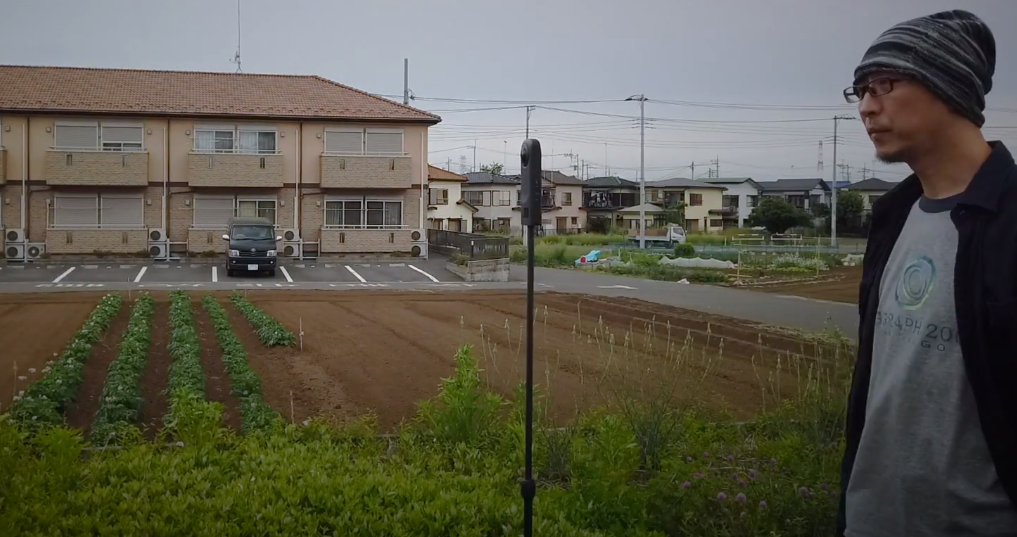
After the shots are taken, some cameras will automatically combine the shots into a single picture and eliminate you out of the scene.
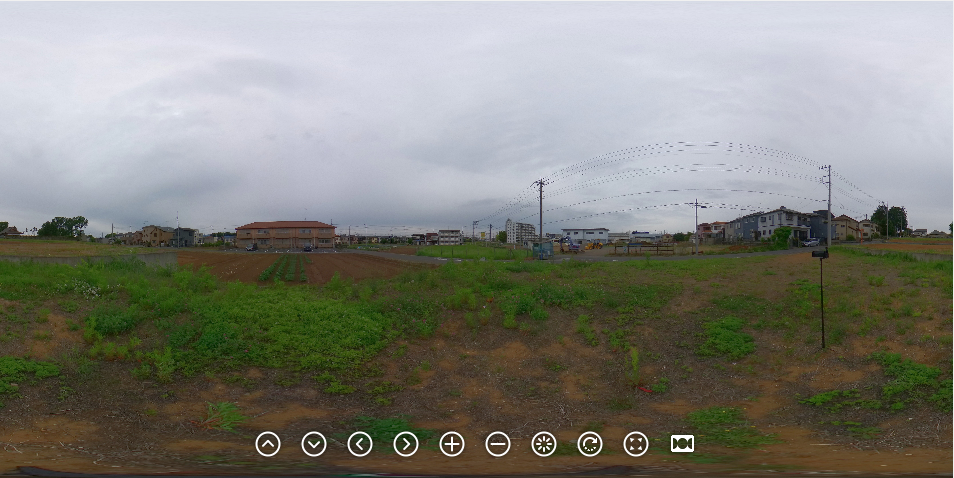
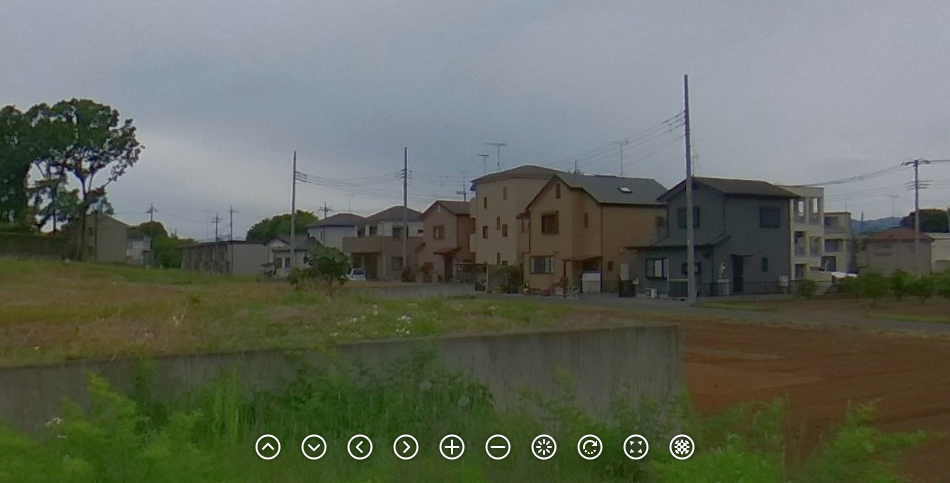
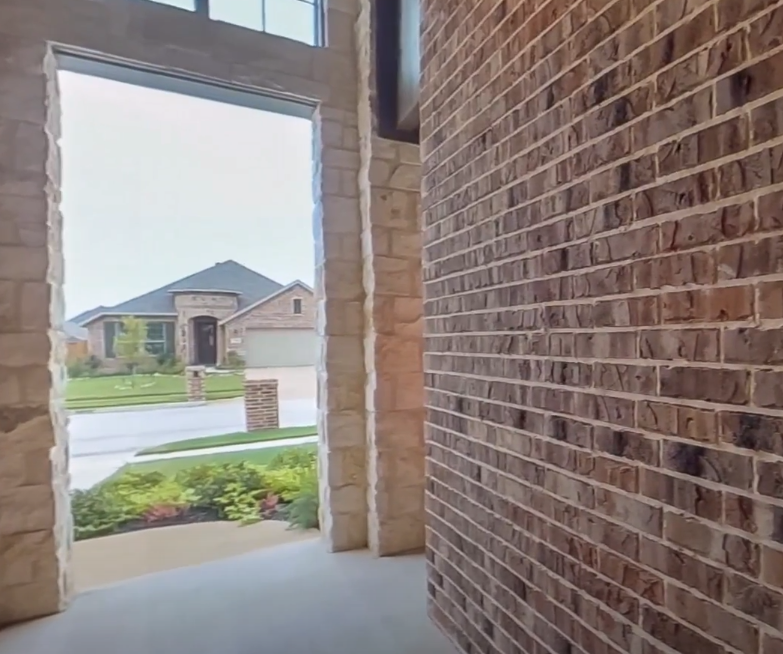
Customer View
This is how the view looks like to your customers. This is an external view of the neighborhood.